How to Replace Your Lawn With Native Plants.
A traditional lawn may look tidy, but it offers very little food or shelter for native wildlife. It also requires regular mowing and may depend on irrigation, fertilizer, and weed control.
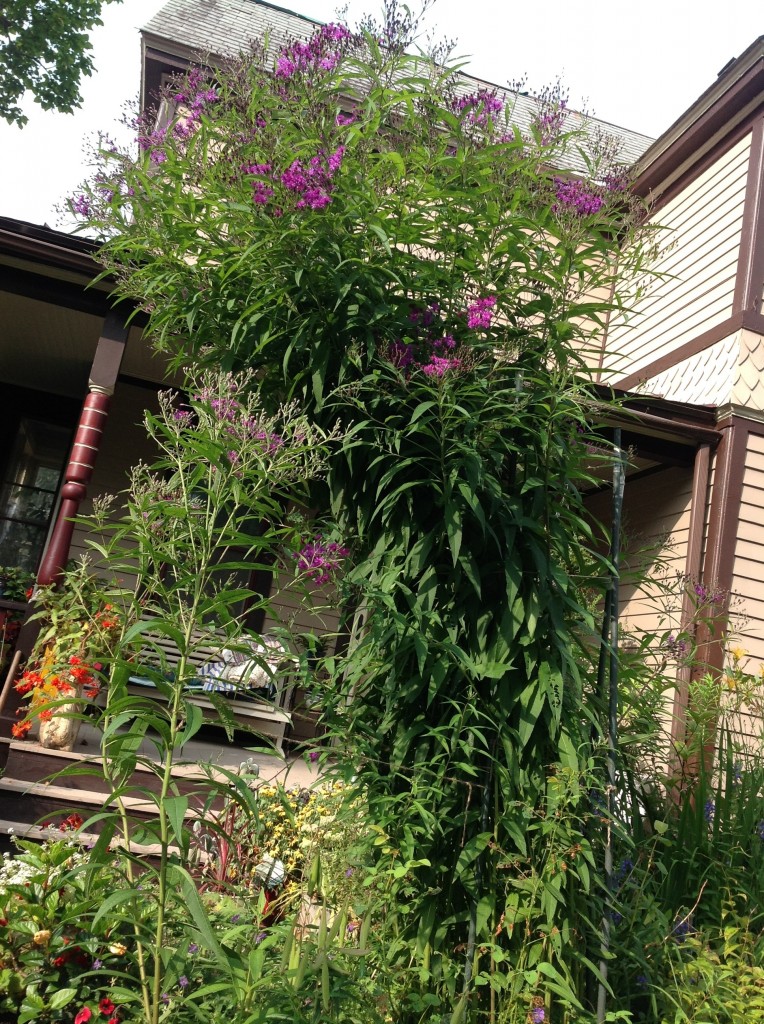
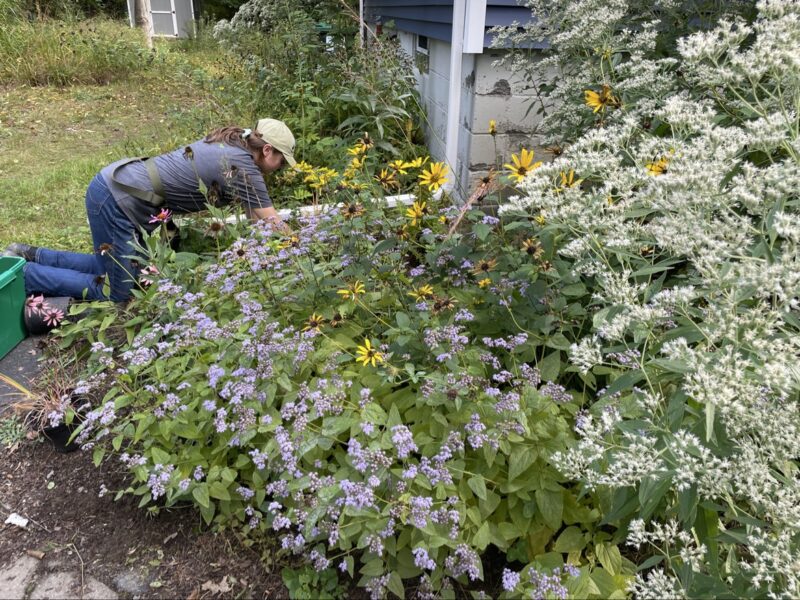
Replacing even part of your lawn with native plants can transform an underused area into a living landscape filled with flowers, birds, and pollinators. You do not have to convert the entire property at once. Start with one manageable garden bed and expand over time.
Why Replace Lawn With Native Plants?
Native plants evolved alongside the insects, birds, soils, and weather patterns of their region. When matched to the right site, they create resilient plant communities that become easier to care for as they mature.
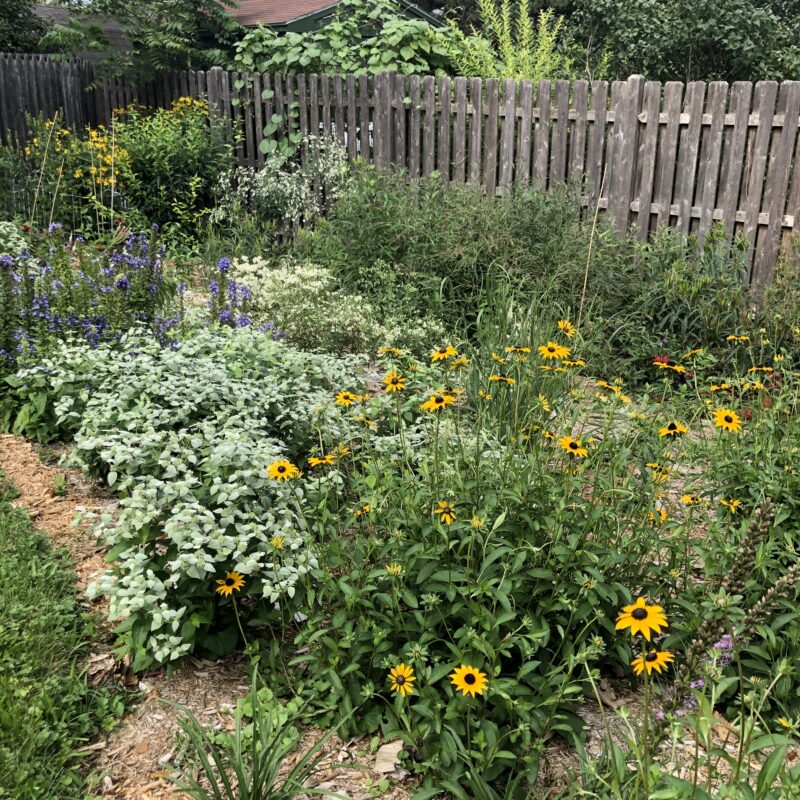
Replacing lawn with native plants can:
- Provide food, breeding space, and shelter for wildlife.
- Support native bees, butterflies, moths, and birds.
- Reduce mowing, fuel use, and noise.
- Absorb rainwater and reduce runoff.
- Improve soil with deeper, more varied roots.
- Add seasonal color, texture, and winter interest.
Lawn can still provide useful space for pets, play, walking, and entertaining. Keep the lawn you use and consider converting areas that serve no meaningful purpose.
Start With a Manageable Area.
One common mistake when learning how to replace your lawn with native plants is removing more lawn than you are ready to plant and maintain. Bare soil will quickly attract weeds.
Choose a clearly defined area that you can plant densely, such as a property edge, an existing garden border, or an area beside a patio. Difficult-to-mow slopes and sections that are unusually wet, dry, or shady are also excellent candidates.
Keep practical paths, gathering spaces, and play areas. Convert the parts of the lawn that you do not actively use.
Get to Know Your Site.
Successful native gardening is not about buying a list of popular plants. It is about matching plants to the conditions you have.
Determine how much direct sunlight the area receives. Full sun generally means six or more hours, part sun means about three to six hours, and shade means less than three hours.
Next, observe the soil and moisture. Is the area dry, evenly moist, seasonally wet, or frequently saturated? Watch where water collects after heavy rain.
Also consider soil compaction, existing tree roots, deer and rabbit pressure, road salt, and drainage. The guiding principle is always the same: right plant, right place. right plant, right place.
Choose a Lawn-Removal Method.
There is no single best way to remove turf. Your choice will depend on the size of the area, your timeline, and how much physical work you want to do.
- Dig Out the Sod
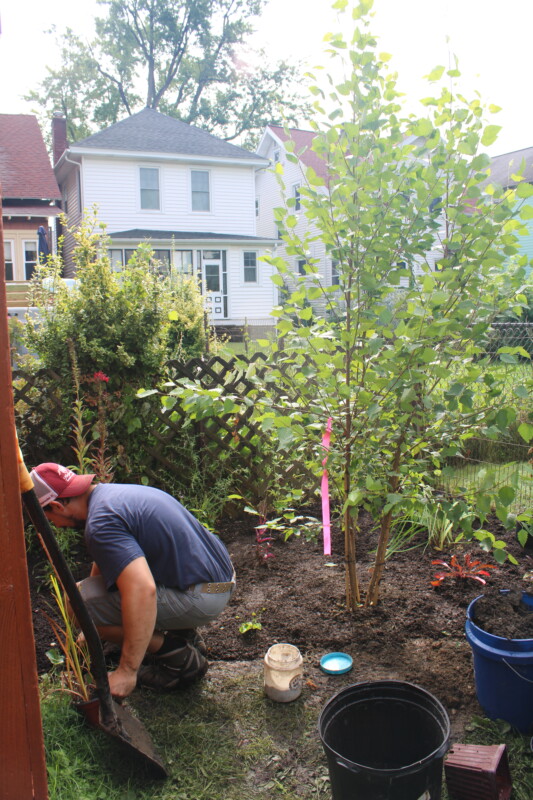
For a small garden, cutting and removing the sod allows you to plant immediately. Avoid tilling the entire bed, which can damage soil structure and bring buried weed seeds to the surface.
- Smother the Grass
Cover the lawn with overlapping, non-glossy cardboard and organic material to block sunlight. Remove tape, staples, labels, and plastic coatings first.
This method takes time and may not eliminate aggressive perennial weeds. Avoid burying future plants beneath deep mulch; their roots need access to the soil, and their crowns should remain uncovered.
- Solarize or Cover the Area
Clear plastic uses solar heat to kill vegetation, while opaque tarps exclude light. Both methods require secure coverage and careful timing. Results depend on the weather, length of treatment, and weeds present.
- Convert Gradually
Widen existing beds or remove narrow strips of lawn each season. This spreads out the cost and labor while allowing you to learn which plants perform well on your property.
Whichever method you choose, address invasive plants before planting. Removing the lawn will not solve established problems with mugwort, bindweed, Japanese knotweed, Canada thistle, or other persistent species.
Design a Native Plant Community.
A successful native garden is more than a collection of attractive plants. It is a layered community designed to cover the ground and provide habitat throughout the year. Consider the “matrix planting” style.
Begin with native shrubs, small trees, or grasses to provide structure. Add flowering perennials in repeating groups, then include lower-growing plants to cover the ground between them.
Plan for flowers from spring through fall, but remember that leaves, stems, seeds, berries, and bark also provide beauty and habitat. Many insects depend on native leaves to feed their young, so a plant’s ecological value extends far beyond its flowers.
Repeating plants throughout the garden creates visual rhythm. Defined edges and paths can help the planting look intentional without reducing its habitat value.
Plant Densely.
Sparse planting leaves exposed soil where weeds can establish. Space plants according to their mature size and growth habits, using enough to cover the soil as the garden develops.

Mulch can suppress weeds during establishment, but it should not be piled against plant crowns or tree trunks. Eventually, the plants themselves should shade and protect the soil.
Water and Steward the New Garden.
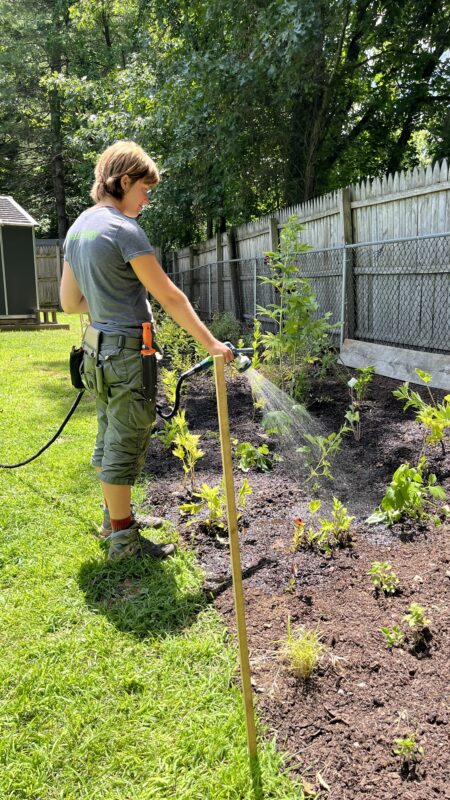
Spring and fall are often excellent planting seasons because temperatures are cooler and moisture is more dependable.
Water plants thoroughly at installation and continue watering as needed while their roots develop. Native plants are adapted to local conditions, but they still require establishment care after leaving their nursery pots.
A native garden can become lower-maintenance than a lawn, but it is not maintenance-free. During the first few seasons, remove weeds while they are small, water during dry periods, and replace plants that fail.
Avoid cutting everything down in fall. Standing stems, seed heads, and leaves provide food and overwintering habitat. In spring, leave some cut hollow stems available for cavity-nesting insects and allow leaves to remain beneath plants as natural mulch.
Should You Use Seeds or Plants?
Seed can work well for larger meadow projects, but establishing a native meadow requires thorough site preparation, appropriate seed, careful timing, weed management, and several years of stewardship.
For smaller residential gardens, plugs or container-grown plants usually provide faster results and greater control. Some projects use plants for structure while adding seed to fill larger spaces over time.
Start Small and Grow.
Every square foot of lawn converted to native plants can contribute to a larger network of habitat.
Start with an area you can manage well. Learn from it, then expand. The most successful lawn replacements come from understanding the site, choosing appropriate plants, planting densely, and caring for the new community as it develops.
Ready to Replace Part of Your Lawn?
Jessecology Eco-Landscaping designs and installs 100% native landscapes throughout much of New York state.
We can help you decide which areas of lawn are worth keeping, which are ready for transformation, and which native plant communities will thrive there.
Jessecology empowers homeowners to do environmental conservation right at home. Start Your ProjectStart Your Project now and we’ll connect soon!
Suggested Products